 |
| The DIY Combat Tracker (a little rough around the edges, but it works well) |
Today I have a little project for you, this is my hand made combat tracker. Before i get into how it's made i'll go over a few of the finer points of what a combat tracker is. (If only want to know how to make the combat tracker, scroll down to the "How it is Made" part of this post)
Ever looking for better ways to organize my games and make them easier for people to play i came up with this little contraption, it is a compartmentalized organizer or in other words, a place to keep track of stats and token expenditures all in one convenient little place.
When making an attack move there are four important factors to keep track of ; The target number needed to hit, The Poise Attribute of your Target, How much Stamina you spend to boost the move, and your actual die roll, in the picture above, a d8. First you would place a token in the compartment with the number needed to hit (represented by the bright red token), and then place a token in the compartment with the target number to stagger your opponent (their Poise, represented by the dark red token). Next you need to decide on how much stamina you'd like to spend to boost (represented by the light blue tokens)
After all the tokens are in place, roll the d8 and move it up the track from the last stamina token. If the die lands on or passes the "To Hit" token, the attack hits. If the die lands on or passes the "To Stagger" token, then the target is staggered.
The Combat Tracker can also be used when evading attacks. Place a token at the highest value of the evasion die being rolled. Spend Stamina Points to evade and place them in the track in descending order from the first token. Lastly roll the die and place it next to the associated value on the track, if the die rolls onto a space filled in with a token, the attack is evaded and no damage is done.
All in all a very useful too for visualizing what is going on when making Attack Moves and Evading.
How it is Made
First off you will need;
-A sheet of Plaskolite Egg Crate Louver. This will help make the compartments for our tray.
-A sheet of foam core to make the tray that the insert will sit in.
-A sharp cutting utensil to cut the foam core neatly.
-A pair of durable clippers to cut the Louver (do not use your fine model clippers for this job)
-A low-temperature hot glue gun to glue the foam core together
 |
| A section of Louver, This piece will be big enough |
 |
| don't use your best model clippers, a pair like this will work fine |
 |
| Marking off the Louver with a Permanent Marker |
 |
| Clipping the Louver, Being Careful Not To Snap Our Tray Insert |
 |
| A Cut Out Insert, 20 Segments in Length |
 |
| Marking Out The Foam Core for Cutting |
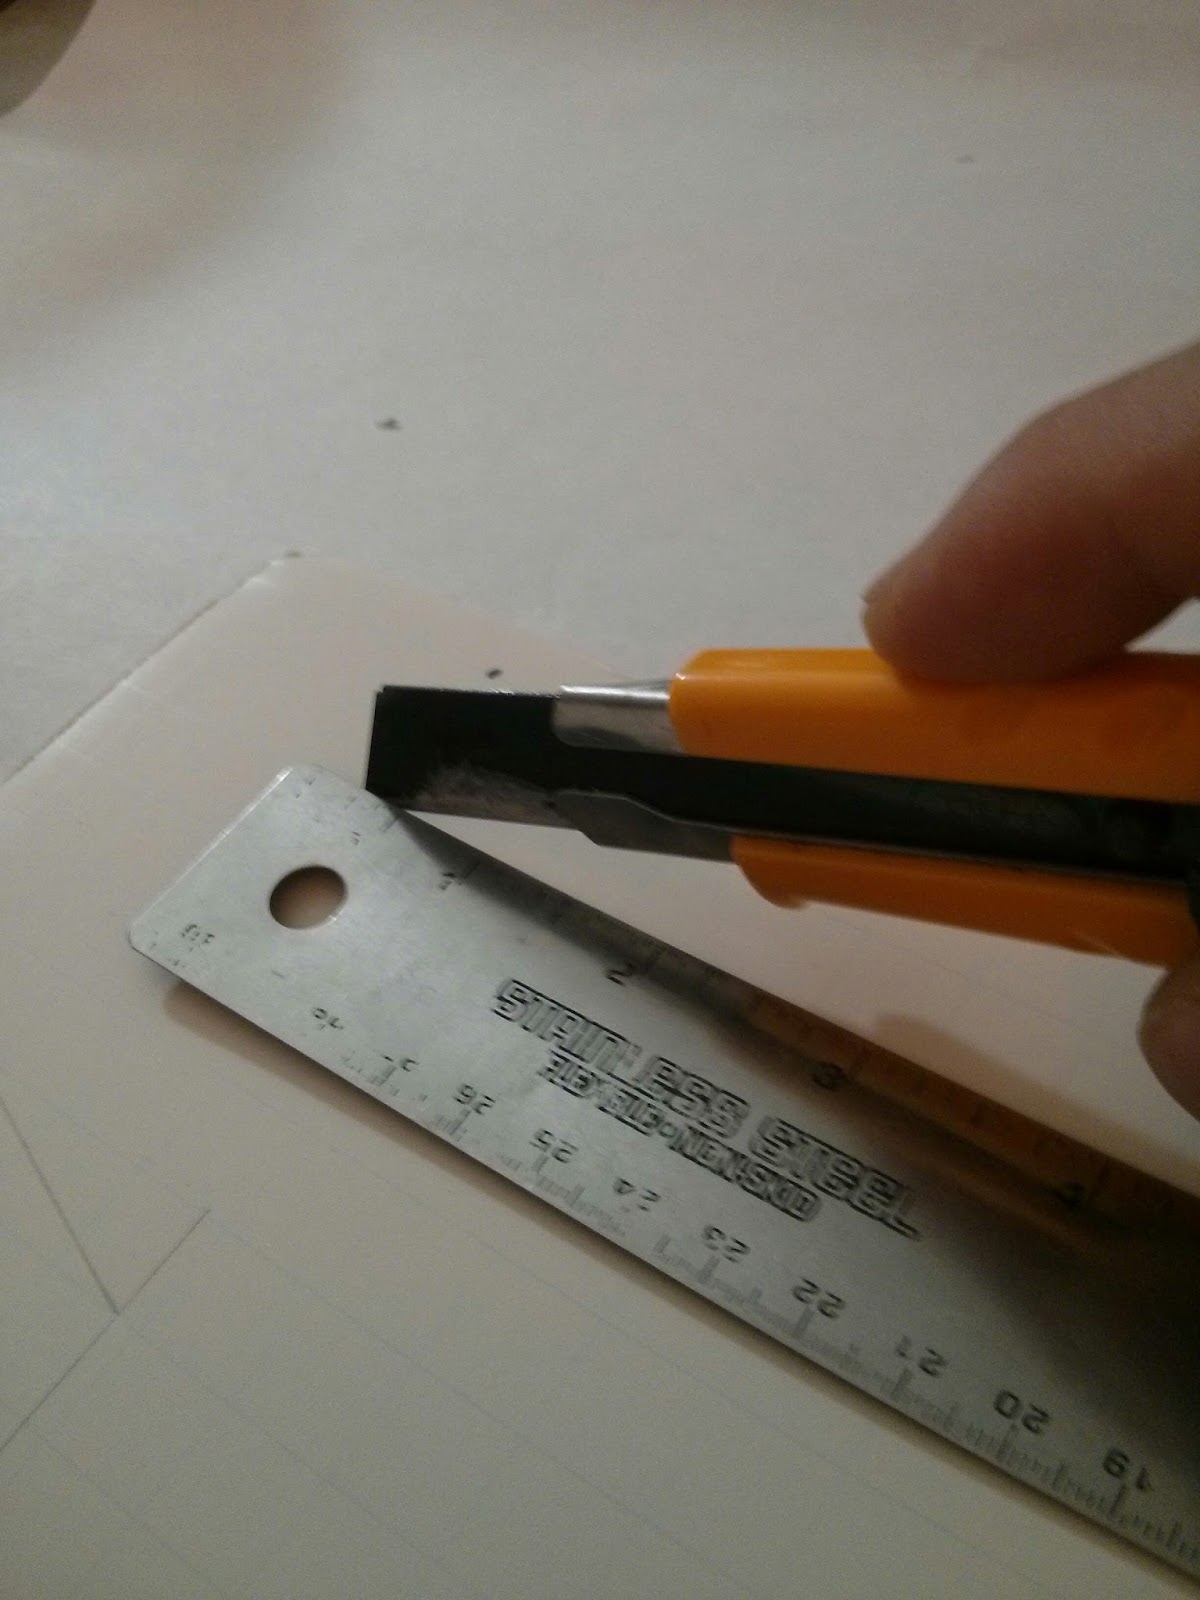 |
| Cut Carefully Using a Sharp Blade and a Straight Edge |
 |
| All the Components |
 |
| The Assembled Tray Beside the Insert |
 |
| The Insert Fits Neatly Inside the Tray |
 |
| Mark the Numbers in the Bottom of the Tray and You're Ready to Play |
 |
| You can try Other Shapes as well, Fits an Assortment of Dice and Tokens |
In the future i will make printout resources available for creating your own 2d combat tracks, or you could glue them into the base of your own 3d combat track as a veneer.
Hope you enjoyed this little tutorial, and maybe inspired you a little for your own projects
Till Next Time
-Tom K.
No comments:
Post a Comment